
A well-maintained grill is the motor that runs many professional kitchens.
Over time, grease, carbon buildup, food debris, and baked on residue can drastically impair performance, reduce heat transfer efficiency, affect your cooking, and become a health hazard.
But cleaning a commercial grill top is about more than aesthetics; it’s a food safety requirement, helps avoid flare ups, extends equipment life, and can even lead to better tasting food.
In this article, you’ll learn a detailed, step-by-step process for deep cleaning a commercial grill top. We’ll also discuss safety considerations, tools, frequency recommendations, and tips to help reduce downtime. By the end, your grill top should be restored to peak performance, and you’ll feel confident about maintaining it regularly.
How Often Should You Clean Your Commercial Flat Top Grill??
Creating and sticking to a structured commercial grill cleaning schedule is one of the most effective ways to maintain consistent results and prevent heavy carbon buildup.
The frequency of each cleaning task should be based on your kitchen’s production volume, menu type, and hours of operation, but consistency is what matters most.
Below is a practical breakdown to help you design a schedule that helps keep your flat top grill performing like new.
| Frequency | Type of Cleaning | Main Focus | Recommended Cleaner |
| Daily | Light wipe & scrape | Remove fresh grease and food particles | Mild degreaser / warm water |
| Weekly | Medium cleaning | Foam degrease & scrub | Victoria Bay Foaming Cleaner |
| Monthly | Deep cleaning | Full teardown & inspection | Victoria Bay Foaming Cleaner |
| Quarterly | Maintenance | Service inspection & calibration | Victoria Bay Foaming Cleaner + Professional servicing |
When properly followed, this schedule helps minimize downtime, improve safety, and ensure your grill top stays in top condition all year long. Over time, staff will likely find that sticking to this plan reduces scrubbing effort and chemical use, which can help save money and labor in the long run.
Tools and Supplies Needed
Before you begin cleaning, gather the right tools and supplies for the job:
- Grill scraper or heavy-duty griddle scraper (sturdy metal blade)
- Grill brush (steel bristle, heat-rated)
- Grill brick
- Soft/medium abrasive pad (for heavy-duty use)
- Wire brushes or narrow brushes (for corners, burner slots, etc.)
- Buckets (hot water, rinse solution)
- Clean rags or microfiber cloths
- Personal protective equipment (PPE): gloves rated for chemical use, goggles or face shield, apron
- Heat-resistant pads or mats
- Drain pan or catch basin
- Victoria Bay Foaming Oven & Grill Cleaner
- Optionally, a steam cleaner or hot-water pressure spray (if available)
- Ventilation or exhaust hood fan
Step-by-Step: Deep Cleaning Your Commercial Flat Top Grill
We’ll divide this into 7 distinct steps. Depending on your grill’s size and design you may adapt or add micro-steps to best meet the needs of your specific model.
Step 1: Safety & Preparatory Steps

Ventilate the Area
Turn on your exhaust hood fans, open vents, and, if possible, crack doors or windows to ensure good airflow.
Strong ventilation is essential because grill cleaners like Victoria Bay Foaming Cleaner release vapors during use.
Good air circulation helps keep your staff comfortable and safe.
Put on PPE
Before handling any chemicals, always put on the required personal protective equipment.
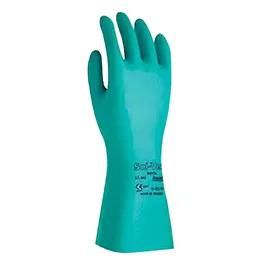
At minimum, wear chemical-resistant gloves to protect your skin, safety goggles or a face shield to guard your eyes against splashes, and a protective apron or coat to keep cleaner from staining or irritating clothing.
If you’re working in a tight or poorly ventilated area, consider using a respirator rated for chemical fumes.
Always review the cleaner’s SDS for specific PPE recommendations.
Protect Surrounding Surfaces
Lay down drip pans, tarps, or absorbent mats around the work area to catch runoff and prevent chemical overspray from damaging nearby floors, counters, or appliances.
This keeps your workspace cleaner and minimizes extra cleanup afterward.

Step 2: Pre-clean & Scrape-Off Loose Debris
Warm Residual Grease (optional)
If safe and your policy allows, bring the grill to about 200–250 °F to help soften grease.
Avoid overheating, which can cause cleaners to evaporate too quickly or create a hazardous cleaning environment.
Scrape Off Chunks and Debris
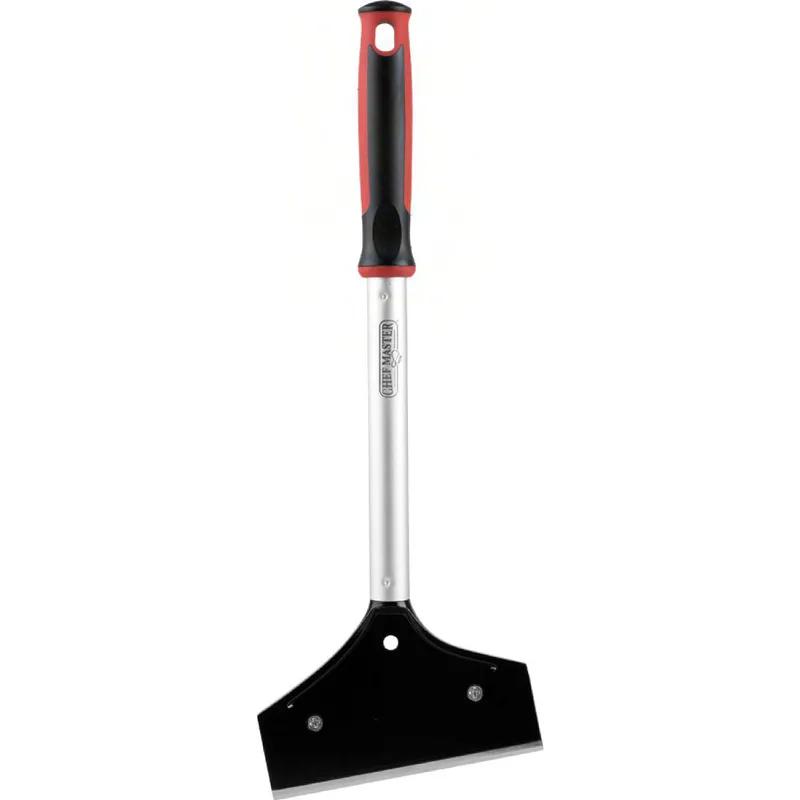
Using a robust grill scraper or griddle tool, scrape off large chunks of food, carbon, and caked debris.
Work systematically row by row, pushing toward the grease trough. Collect the debris and discard.
Wire Brush or Coarse Brushing

Once large bits are off, follow up with a wire grill brush over the surface to remove lighter scale and carbon. Be diligent in corners, joints, burner slot edges, etc.
At this point, your surface should be mostly clear of loose debris, exposing the baked-on grease and residue you’ll now chemically treat.
Step 3: Apply Oven & Grill Cleaner
Shake and Prep the Aerosol Can
Shake the product thoroughly (per instructions; always check the product label or SDS).
Ensure the nozzle is clear and functional. If the nozzle is clogged, soak it in hot soapy water to loosen the clog, then use a sewing needle or thin wire to carefully poke out the softened blockage if needed. Be careful not to damage or enlarge the opening.
Apply a Generous Coating to the Grill Top

We recommend Victoria Bay Foaming Oven & Grill Cleaner . Spray the product across the entire grill top surface, including any vertical surfaces, edges, grooves, and side walls. Because it’s a foaming formula, it will cling to surfaces rather than run off immediately.
Don’t skimp here. You need full coverage so the foam can penetrate baked-on grease. For thick buildup, apply another light pass in critical areas.
Let it Dwell (Penetration Time)
Allow the foam to rest on the surface for the amount of time listed on the label (15 minutes, or until foaming action diminishes).
During this dwell time, the degreaser will break down grease matrices, loosen carbon, and emulsify grime.
Pro Tip: If some areas dry out or if the foam dissipates too early, lightly reapply Victoria Bay Foaming Oven & Grill Cleaner to help keep the surface wet.
Step 4: Agitate & Scrub
Use Abrasive Pad or Scrub Pad
While the foam is active, take a medium-duty abrasive pad and scrub in firm, overlapping strokes.
Focus on the most used areas: the center, burner slots, etc.
Use Wire Brush or Detail Brushes
After bulk scrubbing, switch to wire brushes or narrow bristle brushes to reach crevices, grooves, and junctions between cooking plates or burner slots.
Between these first two steps of Phase 4, you should be able to agitate and scrub the entire grill top.
Repeat Application as Needed
For stubborn areas, you may need a reapplication of Victoria Bay Foaming Oven & Grill Cleaner, then another dwell, agitate, and scrub cycle.
Repeat as many times as needed.
Step 5: Rinse & Remove Residuals
Initial Rinse
Use hot water (preferably >120 °F) and a spray wand to rinse off the loosened debris and chemical. Work from back to front, pushing rinse toward the drain trough or catch basin.
Never use cold water for this step as the thermal shock can crack or damage your grill top surface.
Pro Tip: If your kitchen is fitted with a steam cleaner or hot water system, use them here. Spray at moderate pressure (not too high or you can damage surfaces). Combined with the heat, foam, and agitation, this will rapidly lift residue.
Wipe Down
With clean rags or microfiber cloths, wipe the grill top surface in straight, even strokes.
Inspect & Touch Up as Needed
After rinsing and wiping, inspect the grill top surface carefully under bright light.
If you detect any burned-on spots or a greasy sheen, reapply a small amount of Victoria Bay foam, scrub, and rinse again.
Air Dry or Heat Dry
Once you’ve determined the grill top surface is clean, allow the surface to air dry, or reheat the grill to ~300 °F for a short period to evaporate any residual moisture.
This can also help flash off any remaining trace of cleaning agent.
Step 6: Final Check
Briefly Fire Up the Grill
Turn on burners to medium-high for a few minutes to burn off any minute remaining residues.
Watch for smoke or smell. Any lingering odor should dissipate quickly.
Final Wipe
Once warm, do a light wipe with clean microfiber cloths to polish the surface and pick up any remaining greasy film.
At this point, your grill top should look (and perform) like new. But the job isn’t complete until you document and schedule.
Step 7: Post-Clean Documentation & Maintenance Planning
Log the Cleaning
Record the date, staff, level of buildup, any special issues, time taken, and parts replaced. This helps track patterns.
Schedule Routine Cleaning
Depending on volume, you may do light cleaning daily (scrape, wipe, spot-clean), medium weekly, deep cleans monthly, and service quarterly.
Reference the table at the beginning of this article for specific breakdowns. High-volume kitchens may need deeper cleaning more often.
Inspect & Maintain
Periodically inspect for signs of corrosion, pitting, warping, or damage.
Repair or replace parts proactively.
Also monitor your supply of cleaning chemical, brushes, pads, and PPE.
Tips, Tricks, & Best Practices
- Always follow manufacturer instructions for your particular grill model and the cleaner’s SDS instructions (e.g. safe dwell time, PPE).
- Don’t mix chemicals. Avoid using incompatible acids, alkalis, or bleach in combination. Stick with a single approved degreaser (like Victoria Bay).
- Keep a “clean zone.” When working with foam sprays, use drip trays or shields so nearby surfaces (walls, floors, counters) don’t get hit by chemical overspray.
- Mind adjacent surfaces. Turn off overhead hoods or cover them, protect surrounding equipment or storage areas.
- Use proper PPE. Never skip gloves and eye protection. Degreasers can irritate skin or eyes.
- Test a small patch first. If your grill has specialty coatings or finishes, test the cleaner on a small inconspicuous zone.
- Optimize dwell time vs. temperature. Warm surfaces help the foam act faster, but too hot may cause evaporation or hazard.
- Use the right pressure on spray. Don’t blast with high-pressure water that might warp or gouge surfaces.
- Keep spare parts for parts cleaning. Sometimes grates, burner caps, drip trays need soaking in a separate sink or soak bath.
- Train staff & rotate responsibility. Ensure multiple people know the full procedure so no cleaning is skipped.
- Record trouble zones. If certain zones always accumulate heavy carbon, adjust cooking techniques or pre-scraping to reduce load.
Frequently Asked Questions
Q: How often should a deep clean be done?
It depends on volume. Light cleaning should be done daily; medium-level cleaning (grates off, scrape + foam) weekly; full deep clean monthly or even biweekly in heavy kitchens.
Q: Is Victoria Bay Foaming Oven & Grill Cleaner safe for food surfaces?
When used as directed (dwell, rinse, heat-off, final wipe), trace residue should be eliminated. Always adhere to Safety Data Sheet (SDS) instructions and the product label.
Q: Does the foam damage metals or coatings?
If misused (excess dwell, high temperature, repeated overuse), aggressive degreasers can cause etching. That’s why testing in inconspicuous areas and not overdoing exposure is key.
Q: Can I use hot-water pressure washers to clean a commercial grill top?
Yes, but use moderate pressure. Too much force can warp or damage delicate components.

Final Thoughts
Cleaning a commercial flat top grill is a non-negotiable task in a restaurant or food service operation. When done properly, it helps ensure safety, better food quality, equipment longevity, and compliance.
The 7-phase method above, safety and prep, pre-scrape, foam with Victoria Bay Foaming Oven & Grill Cleaner, agitate, rinse, final check, and document, offers your team a reliable, repeatable protocol to follow. Coupled with daily maintenance, your grill should remain efficient, safe, and high-performing.
By consistently using a professional-grade cleaner like Victoria Bay Foaming Oven & Grill Cleaner, you send a clear message: your kitchen cares about quality, detail, and reliability.
Ready to revolutionize your grill maintenance? Equip your kitchen with Victoria Bay Foaming Oven & Grill Cleaner to make flat top grill cleaning fast, effective, and safe.
Visit our product page, request a sample, or contact your local Imperial Dade representative to stock up today.
Check Out These Related Articles:
- Essential Food Safety Tips for Outdoor Catering & Events
- How to Clean a Flat-Top Griddle in 5 Minutes or Less
- How to Clean and Sanitize Food Prep Counters: Step-by-Step for a Safer Kitchen
- Keep Your Kitchen Spotless and Efficient: Solving Tough Cleaning Challenges
- The Best Way to Remove Grease From Commercial Kitchen Floors (7 Steps)
- How to Use Disposable Gloves the Right Way: Best Practices for Food Handlers
- How to Fix a Commercial Dishwasher That Won’t Drain
- How to Fix a Leaking Commercial Dishwasher: Step-by-Step Guide
- How to Clean Stainless Steel Without Streaks: The Pro’s Guide