
Hard water rings remain one of the most stubborn challenges in commercial restroom maintenance. Even in facilities that receive regular care, mineral deposits can quickly form white, brown, or rust-colored rings that create the impression of poor cleanliness.
Hard water rings in urinals can be especially challenging to handle because uric salts combine with these mineral deposits to form stubborn rings and streaks. These stains contribute to odor and can give the impression of poor hygiene even in otherwise clean facilities.
To remove these stains effectively, custodians and facility managers need the appropriate chemistry, correct technique, and a consistent maintenance schedule. This guide provides a detailed, step-by-step approach for eliminating hard water rings from urinals, along with proven strategies to prevent them from returning.
Let’s get started!
Why Do Hard Water Rings Form?
Hard water contains elevated levels of minerals such as calcium, magnesium, and iron. As water evaporates on porcelain fixtures, these minerals settle and form visible deposits. In urinals, this issue is intensified due to heavy daily usage and constant exposure to both mineral scale and uric acid. The combination quickly adheres to the surface and creates stubborn staining.

Several factors contribute to the difficulty of removing these deposits:
- Mineral buildup solidifies over time. The longer it remains on the fixture, the more challenging it becomes to eliminate.
- Porcelain surfaces are porous. Microscopic openings allow minerals to bond tightly and resist normal cleaning.
- Repeated flushing can worsen the issue. Every use introduces additional minerals that gradually contribute to scale formation.
Tools and Supplies Needed
Before diving into the cleaning steps, gather the right tools. Having the right supplies can make the job faster and more effective.
- PPE (chemical-resistant gloves and safety glasses)
- “Restroom Closed for Cleaning” sign
- Urinal cleaner/descaler
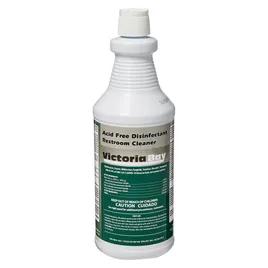
- Disinfectant restroom cleaner
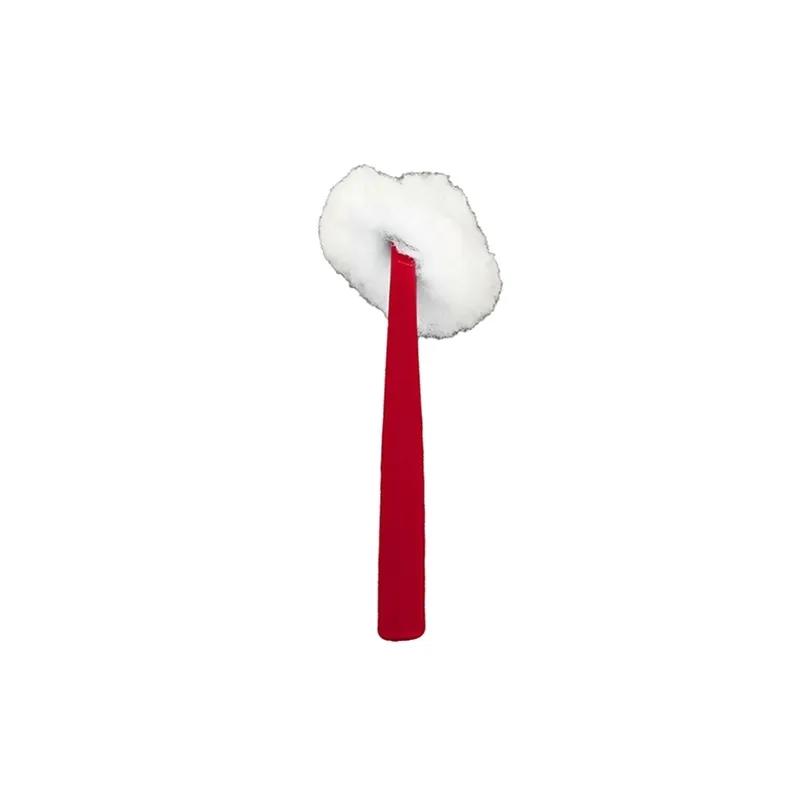
- Toilet bowl swab
- Pumice stone
- Measuring bottle or squeeze applicator
- Microfiber cloth
How to Remove Hard Water Rings from Urinals
Next we’ll cover removing hard water stains from urinals. Urinals often present an extra challenge because they not only accumulate hard water scale but also uric salts from frequent use. These combined deposits can lead to heavy staining and persistent odors if not addressed properly.
Here’s the process:
- Step 1: Post “Restroom Closed for Cleaning” Signage
- Step 2: Gather PPE and Tools
- Step 3: Flush and Drain the Urinal
- Step 4: Remove Urinal Screens
- Step 5: Apply Cleaner Directly to Affected Areas
- Step 6: Allow the Product to Dwell
- Step 7: Scrub the Interior Surfaces
- Step 8: Address Heavy Buildup with a Wet Pumice Stone
- Step 9: Reapply Descaler if Necessary
- Step 10: Restore Water Flow and Flush
- Step 11: Inspect the Surface
- Step 12: Apply Restroom Disinfectant
- Step 13: Wipe Dry with a Microfiber Cloth
- Step 14: Install an Odor Control Device
- Step 15: Remove “Closed for Cleaning” Signage
Step 1: Post “Restroom Closed for Cleaning” Signage
Close the restroom to ensure safety and avoid foot traffic during cleaning.
Post a “Restroom Closed for Cleaning” sign to prevent use during the procedure.
Step 2: Gather PPE and Tools
Put on your chemical-resistant gloves and safety glasses before handling any acid-based products.
Gather your supplies, including a phosphoric acid or blended-acid urinal descaler, a commercial bowl swab, a wet pumice stone, a urinal screen or enzymatic block, and a neutral disinfectant restroom cleaner and clean microfiber cloth for the final wipedown.
Step 3: Flush and Drain the Urinal
Flush the urinal once to rinse away loose debris.
Then, use your bowl swab to force water over the trap within the drain of the urinal to lower the water level and expose the ring completely. Three or four plunges should do the trick.
This ensures the cleaning solution contacts the mineral buildup directly rather than being washed away by flowing water.
Step 4: Remove Urinal Screens
Urinal screens must be removed for cleaning and should be replaced on a regular schedule. We recommend changing it out every 30 days, or even sooner in high-traffic areas.
Step 5: Apply Urinal Descaler Directly to Affected Areas
Apply the urinal descaler to the bowl swab, then use it to apply evenly across the affected surfaces, focusing on the drain area and any visible mineral streaks or rings.
Use enough product to ensure full coverage but not so much that there is excessive runoff.
Step 6: Allow the Product to Dwell
Let the chemical dwell for the recommended time on the product label. This should be long enough for the acid to break down both hard water scale and uric salt deposits.
Avoid scrubbing during this time so the product can work effectively.
Make sure the area is well-ventilated and never mix acid cleaners with bleach, ammonia-based products, or any other chemical, as this can create toxic fumes.
Step 7: Scrub the Interior Surfaces
Once the dwell time has passed, use the bowl swab to scrub the interior surface from top to bottom.
Focus your effort on the drain and water path, where buildup tends to be thickest.
Move in firm circular motions to lift the loosened scale.
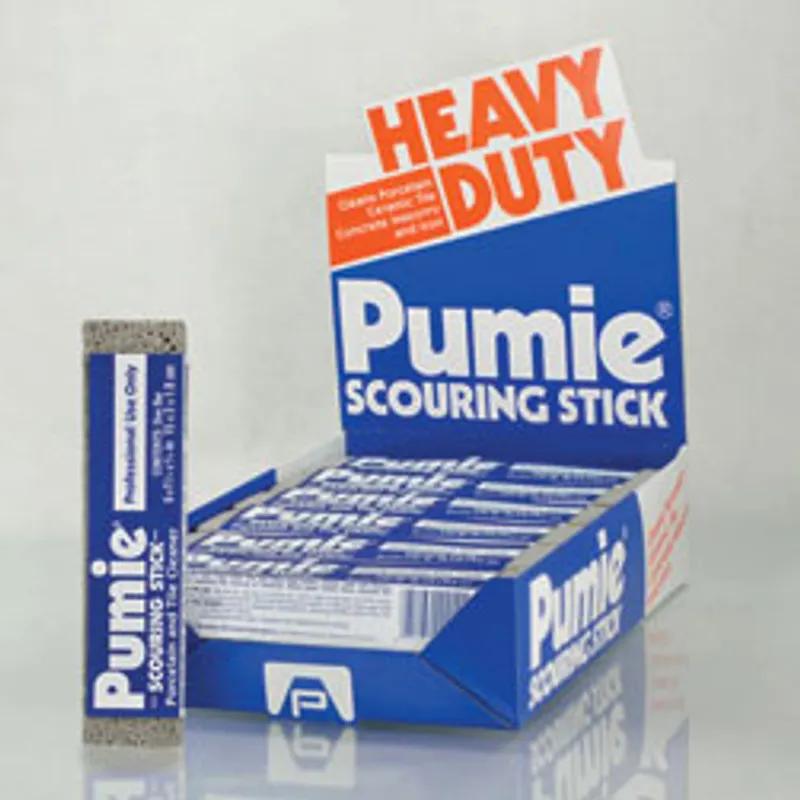
Step 8: Address Heavy Buildup with a Wet Pumice Stone
For particularly stubborn deposits, switch to a wet pumice stone, keeping both the stone and the surface wet to prevent scratching.
Work carefully, applying light pressure until the mineral buildup is fully removed.
Step 9: Reapply Descaler if Necessary
In some cases, a second round of descaler application may be required for stubborn stains.
Step 10: Restore Water Flow and Flush
Flush the urinal a few times to rinse away any remaining chemical and restore the water level. Make sure ALL of the chemical is washed away to eliminate any potential chemical exposure for users.
Step 11: Inspect the Surface
Check the surface closely for any leftover discoloration or scale.
Use a flashlight to examine the surface under good lighting. This is especially important around the drain area and along the back wall, where streaking can hide.
If minor rings remain visible, reapply the descaler and repeat the scrubbing process until the porcelain is clean and smooth.
Step 12: Apply Restroom Disinfectant
After all mineral buildup has been removed, spray the urinal and surrounding wall areas with a neutral disinfectant cleaner.
Step 13: Wipe Dry with a Microfiber Cloth

Wipe everything down with a clean microfiber cloth to remove chemical residue and restore shine.
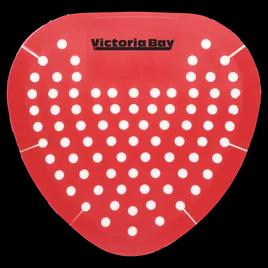
Step 14: Install a New Urinal Screen
Install a fresh urinal screen in the drain. These products not only provide deodorization but also help slow down future scale formation by releasing cleaning agents with each flush.
Step 15: Remove “Closed for Cleaning” Signage
Once all surfaces are clean and dry, remove your safety signage and return the restroom to normal service.
Quick Tips for Hard Water Ring Prevention & Removal
- Always allow chemical dwell time for maximum mineral breakdown.
- Use pumice only when wet to avoid damaging porcelain surfaces.
- Never mix acid cleaners with any other chemicals.
- Track water hardness levels to determine ideal descaling frequency.
- Replace urinal screens before they dissolve fully to maintain odor and scale control.
- Increase cleaning frequency during heavy seasonal traffic to prevent buildup from accelerating.
- Keep exhaust systems operating properly to reduce odor and moisture accumulation.
Preventing Hard Water Rings in Urinals
Preventing mineral buildup is significantly easier and more cost-effective than correcting severe scale after it forms. Consistent urinal maintenance not only preserves appearance but also improves sanitation and minimizes odor issues linked to uric salts.
To reduce the likelihood of hard water rings forming, incorporate the following prevention strategies into your restroom cleaning program:
- Daily surface cleaning: Use a neutral disinfectant cleaner to remove soils, splashback residue, and bacteria that contribute to odor and buildup. Consistency ensures that minor deposits never have a chance to harden.
- Weekly descaling: Apply an acid-based descaler or urinal cleaner to dissolve early-stage mineral accumulation. High-traffic facilities or those with very hard water may require more frequent treatment.
- Odor control systems: Utilize urinal screens or enzymatic blocks. These products release cleaning and deodorizing agents with each flush, helping to reduce uric acid crystallization and scale formation.
- Maintain proper flush performance: Ensure flush valves are operating correctly and delivering sufficient water flow. Inadequate flushing allows minerals to dry and adhere to porcelain surfaces more quickly.
- Water quality management: In facilities with severe hard water problems, consider installing a water softening solution. Reducing calcium and magnesium levels at the source significantly slows scale accumulation and protects plumbing and fixtures.
- Routine inspections: During cleaning rounds, inspect each urinal closely. Identifying and treating early discoloration prevents the need for aggressive scrubbing or pumice use later.
By implementing a preventive maintenance program, custodial teams can limit costly corrective cleaning and sustain a clean, professional restroom appearance.
Final Thoughts
Hard water scale in urinals causes stains, foul odors, and longer cleaning times if left untreated. A preventative routine paired with effective acid descalers helps protect your porcelain and improves the perception of your restroom.
With the right cleaning chemicals, proper dwell time, and consistent maintenance, you can eliminate mineral rings efficiently and keep your restrooms looking clean and professional.
By following the process outlined in this article, custodial teams can standardize their cleaning routines and maintain spotless, sanitary urinals that leave a positive impression on every visitor.
Don’t let scale and buildup undermine your facility’s image.
Ready to make hard water rings in urinals a thing of the past? For expert recommendations on bowl cleaners and restroom maintenance supplies, reach out to your local Imperial Dade location. Our team can connect you with training tools, cleaning solutions, and best practices that help you protect your restroom.
Check Out These Additional Resources:
- Urinal Screens 101: The Simple Solution to Restroom Odor and Clogged Drains
- How to Clean Around Urinals: Eliminating Buildup, Bacteria, & Stains
- Best Practices for Restroom Trash and Feminine Hygiene Receptacle Cleaning
- 10 Most Common Restroom Complaints and How to Solve Them
- How to Keep Drain Odors from Coming Back: Preventative Maintenance Schedule
- Common Causes of Drain Odors: Key Considerations for Clean Restrooms
- How to Clean Under Bathroom Partitions: Tips to Maintain Bathroom Hygiene
- How to Clean a Toilet [VIDEO]
- How to Improve Facility Hygiene and Sustainability with the Right Solutions